# Workato Connector Copilot
HOW TO GET ACCESS
This feature is in private preview. You can opt-in by agreeing to our AI feature addendum (opens new window). Contact your Customer Success representative to apply for access.
The Workato Connector Copilot uses Large Language Models (LLMs) to augment and accelerate your connector-building experience. This enables you to develop connectors quickly, whether you're a seasoned SDK developer or new to the SDK with some familiarity with coding and web services. You can use the Workato Connector Copilot to learn more about the Workato SDK, build authentication logic, or build actions that are specific to your requirements.
POWERED BY AI
Copilot is powered by AI, where mistakes and nonexistent patterns or objects known as hallucinations are possible. We recommend that you verify AI-generated code through adequate testing before releasing the connector to your workspace members.
Remember that all conversations with the Workato Connector Copilot are stored so we can learn and improve!
# Enable Copilot in your workspace
To enable Copilot in your workspace, you must meet the following requirements:
- Your company has signed and agreed to Workato's AI feature addendum through DocuSign.
- You are assigned the Admin (system role) in your AHQ or Embedded workspace.
Workato does not offer granular permissions to the Connector Copilot feature. This means that users are given all-access or no access. If you enable the feature in your workspace, all users with the SDK access can use the feature.
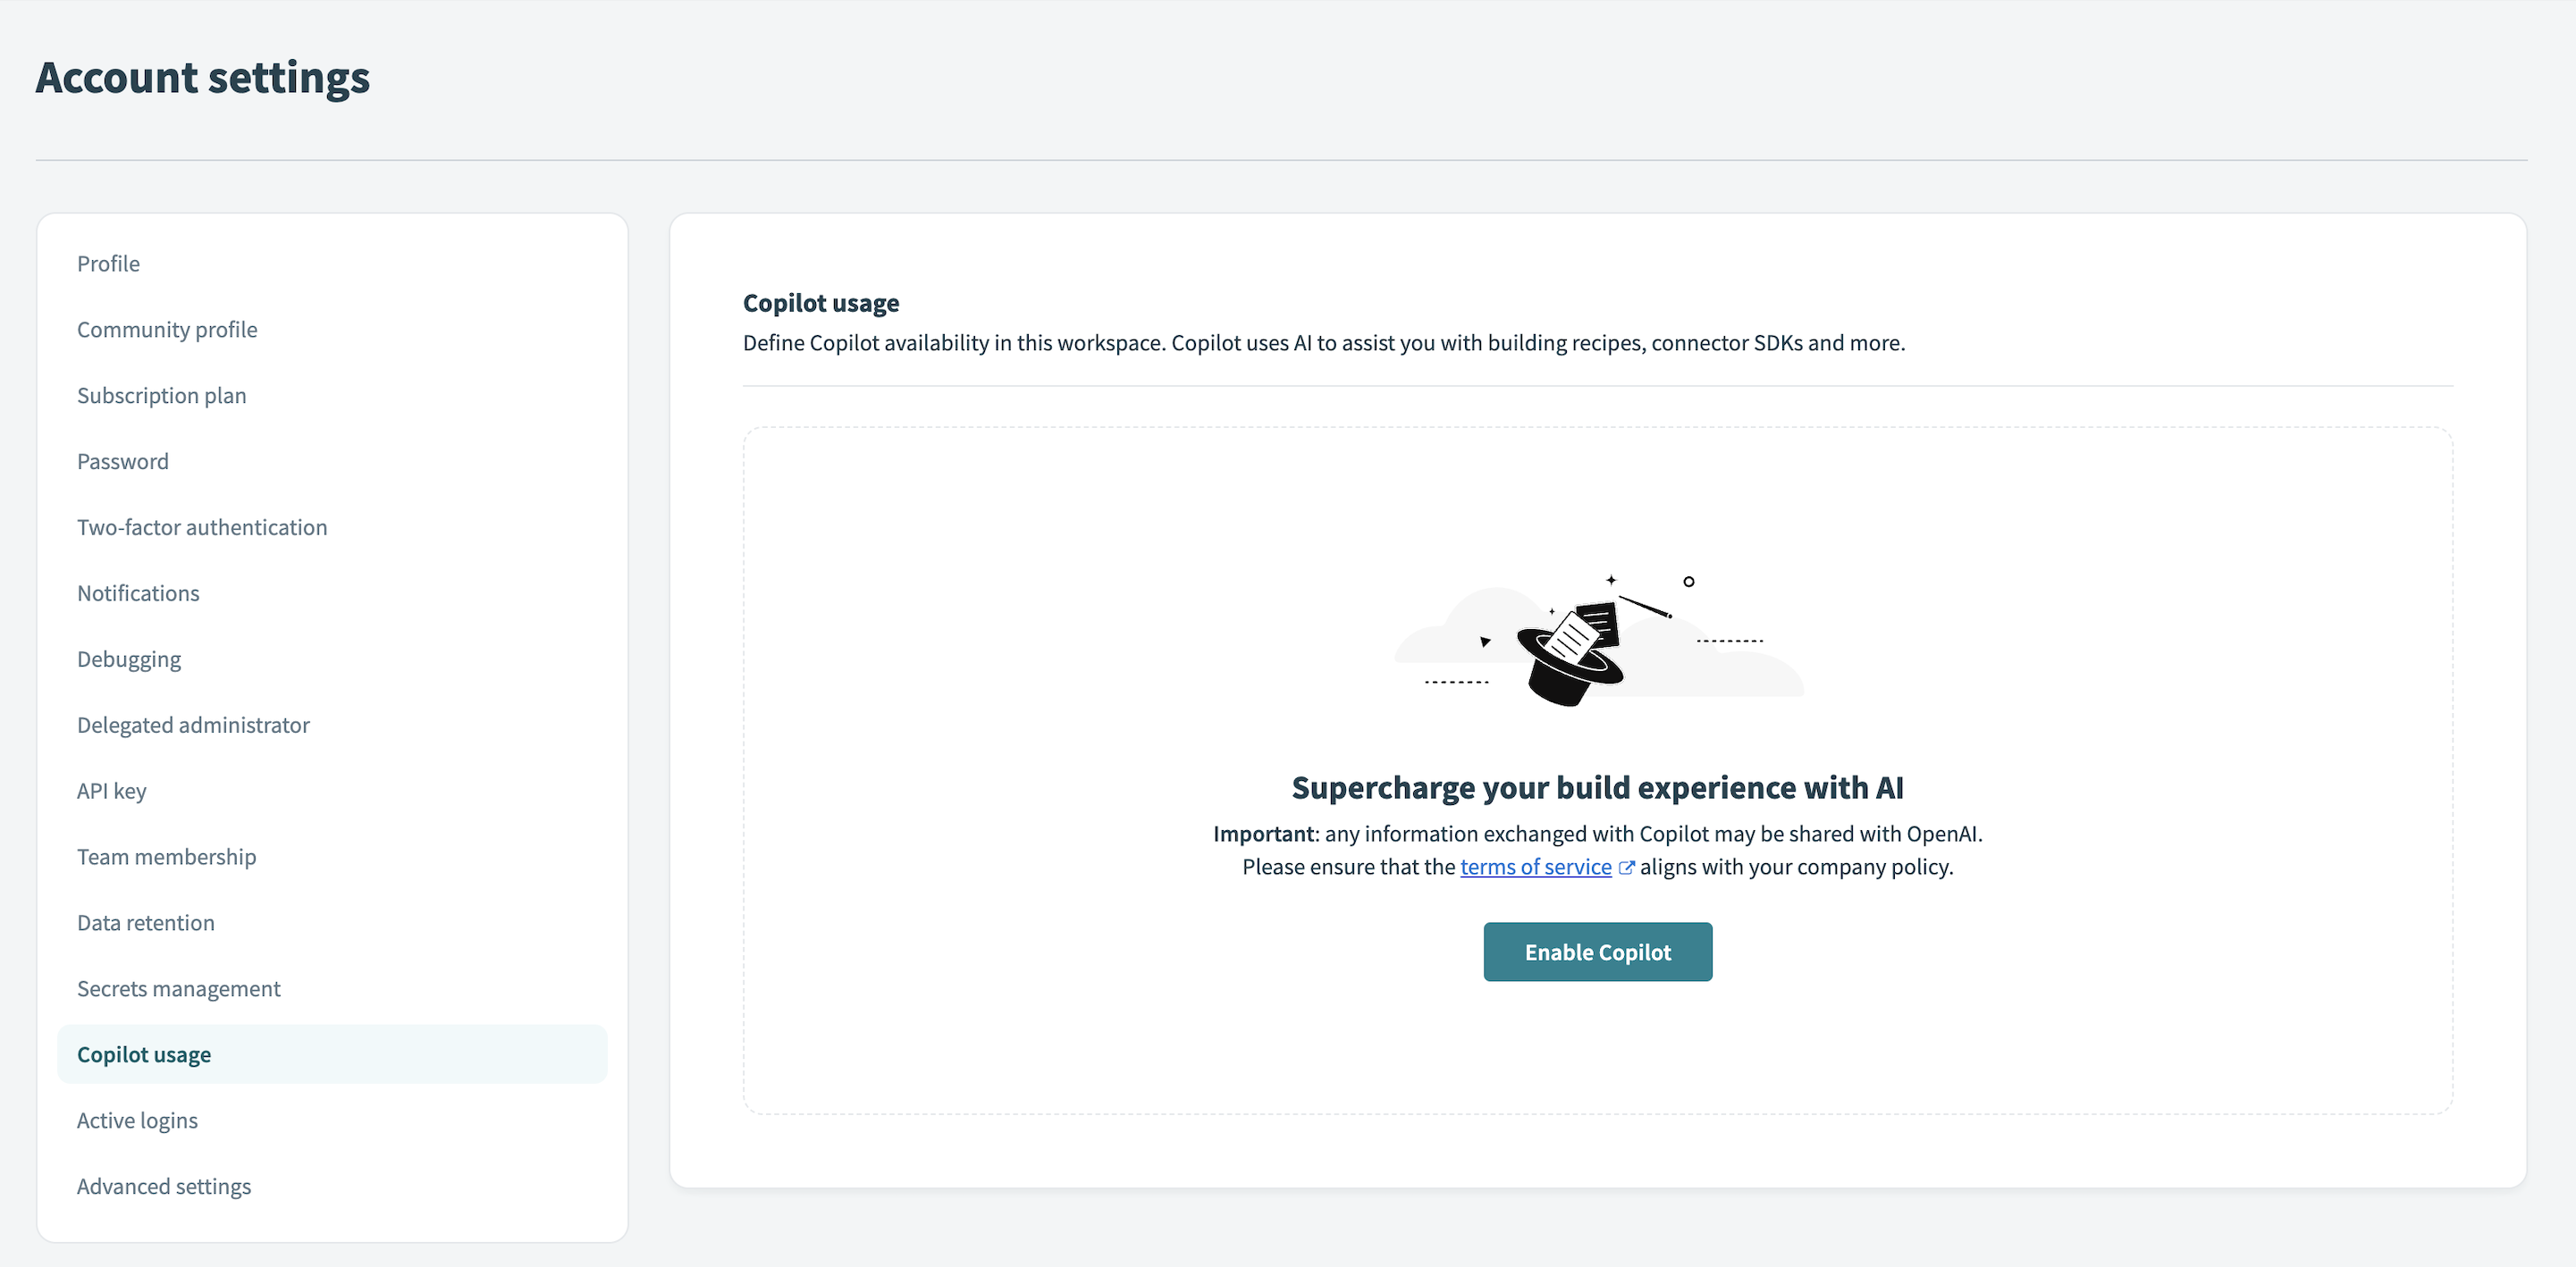
# Standard Workspaces
Navigate to Account settings > Copilot usage.
Ensure that Copilot's terms of service comply with your company's policies.
Click Enable Copilot.
 Enable Copilot
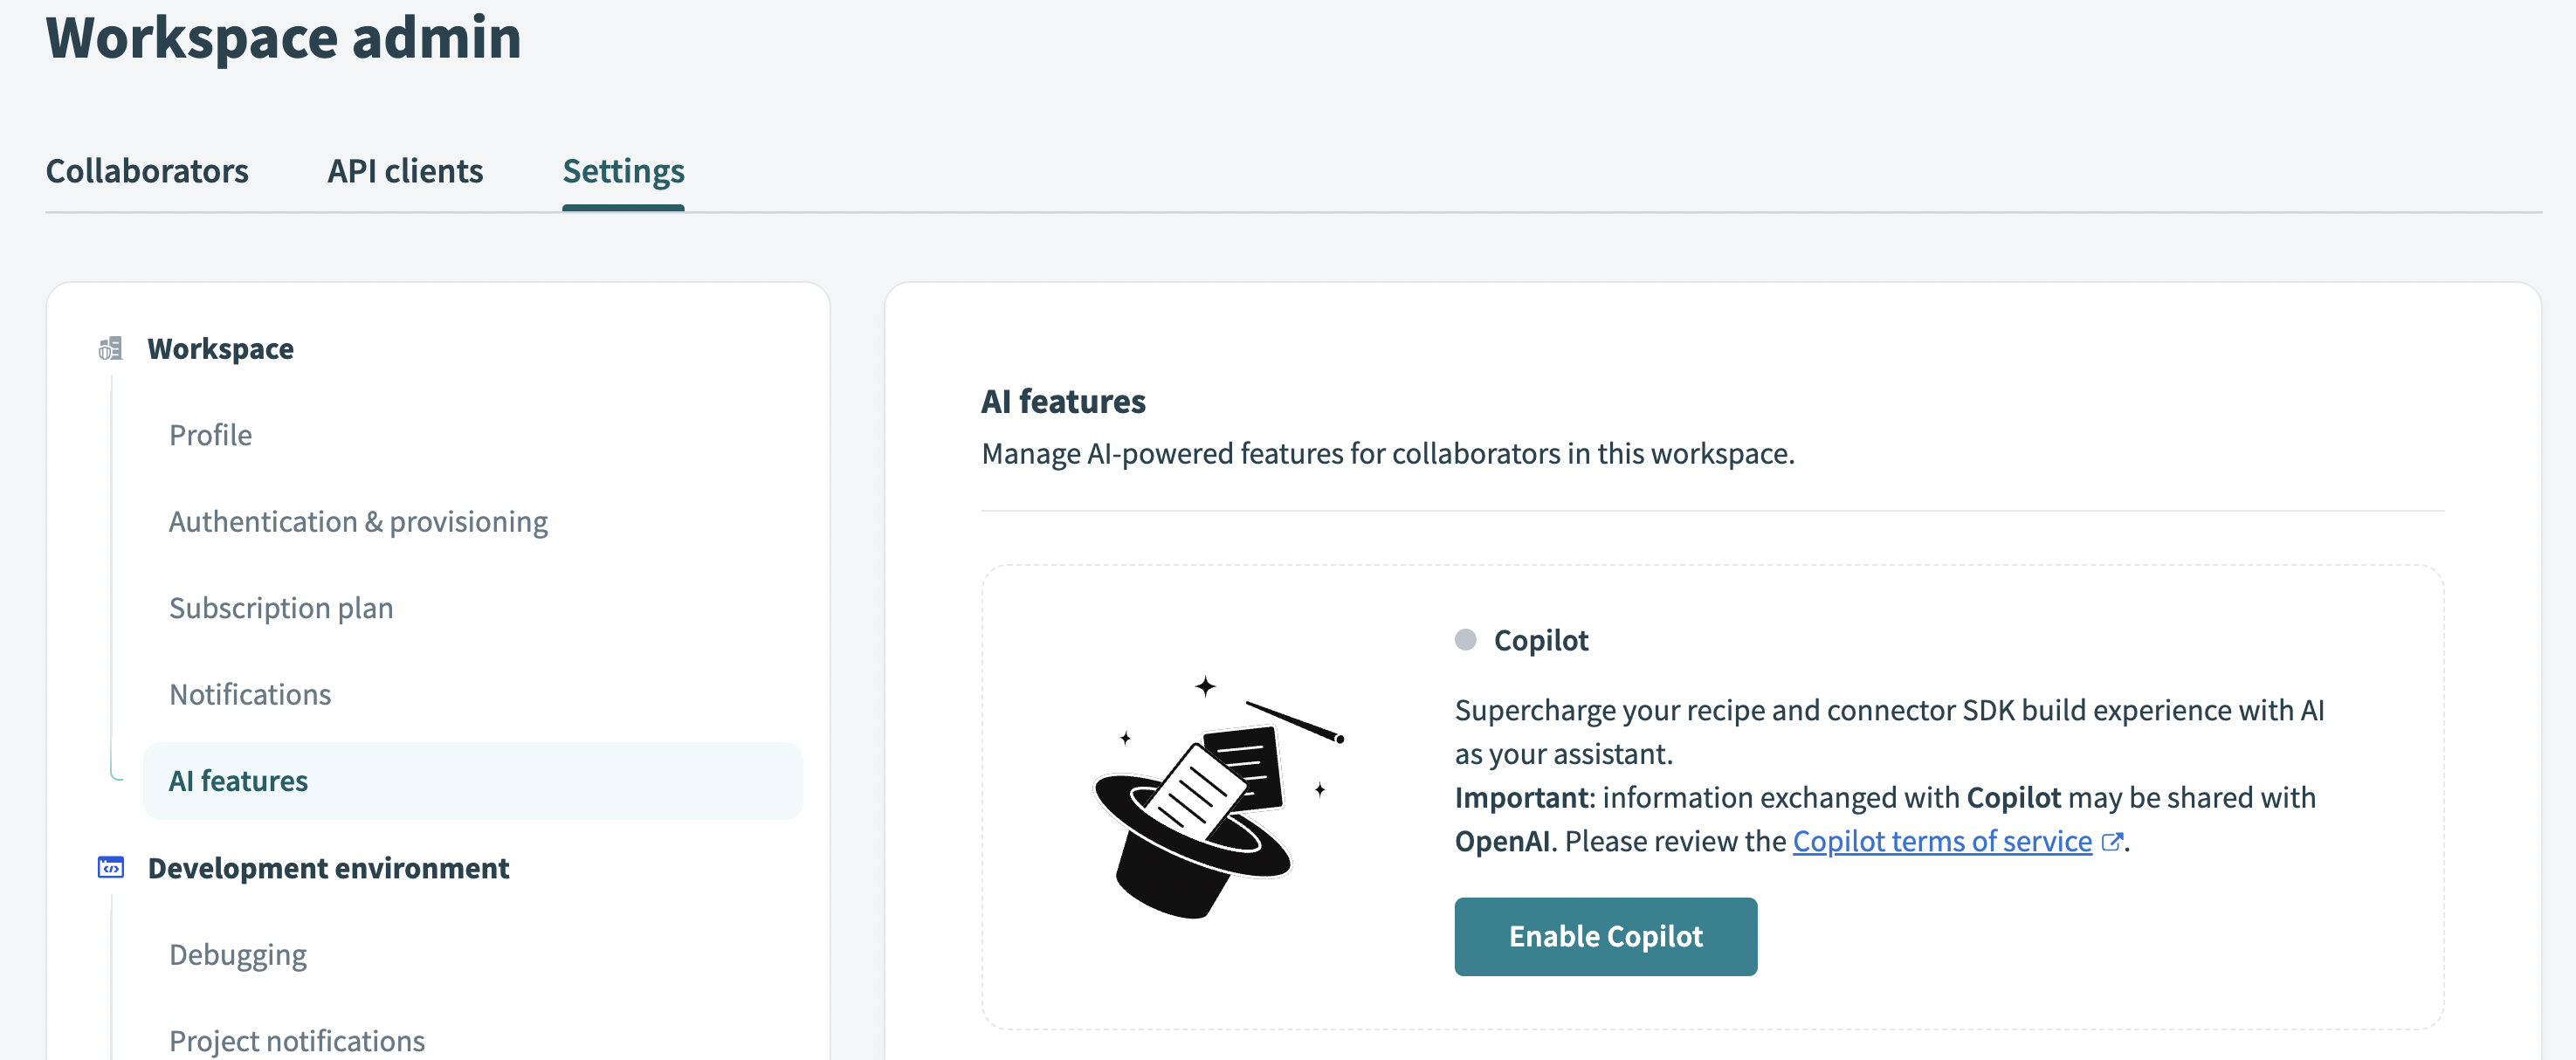
# AHQ Workspaces
Click Workspace admin > Settings > AI features.
Ensure that Copilot's terms of service comply with your company's policies.
Click Enable Copilot.
 Enable Copilot
#
# How to use the Connector Copilot
Ensure that the Connector Copilot is enabled on your workspace before using the following steps.
Click Tools > Connector SDK.
</Step
Create a new custom connector or select an existing custom connector.
- If creating a new connector, start by providing your API documentation URL.
- If modifying an existing connector, begin by changing the authentication logic or generating an action.
The Copilot appears in its own dedicated tab, next to the Debug and Console tabs.
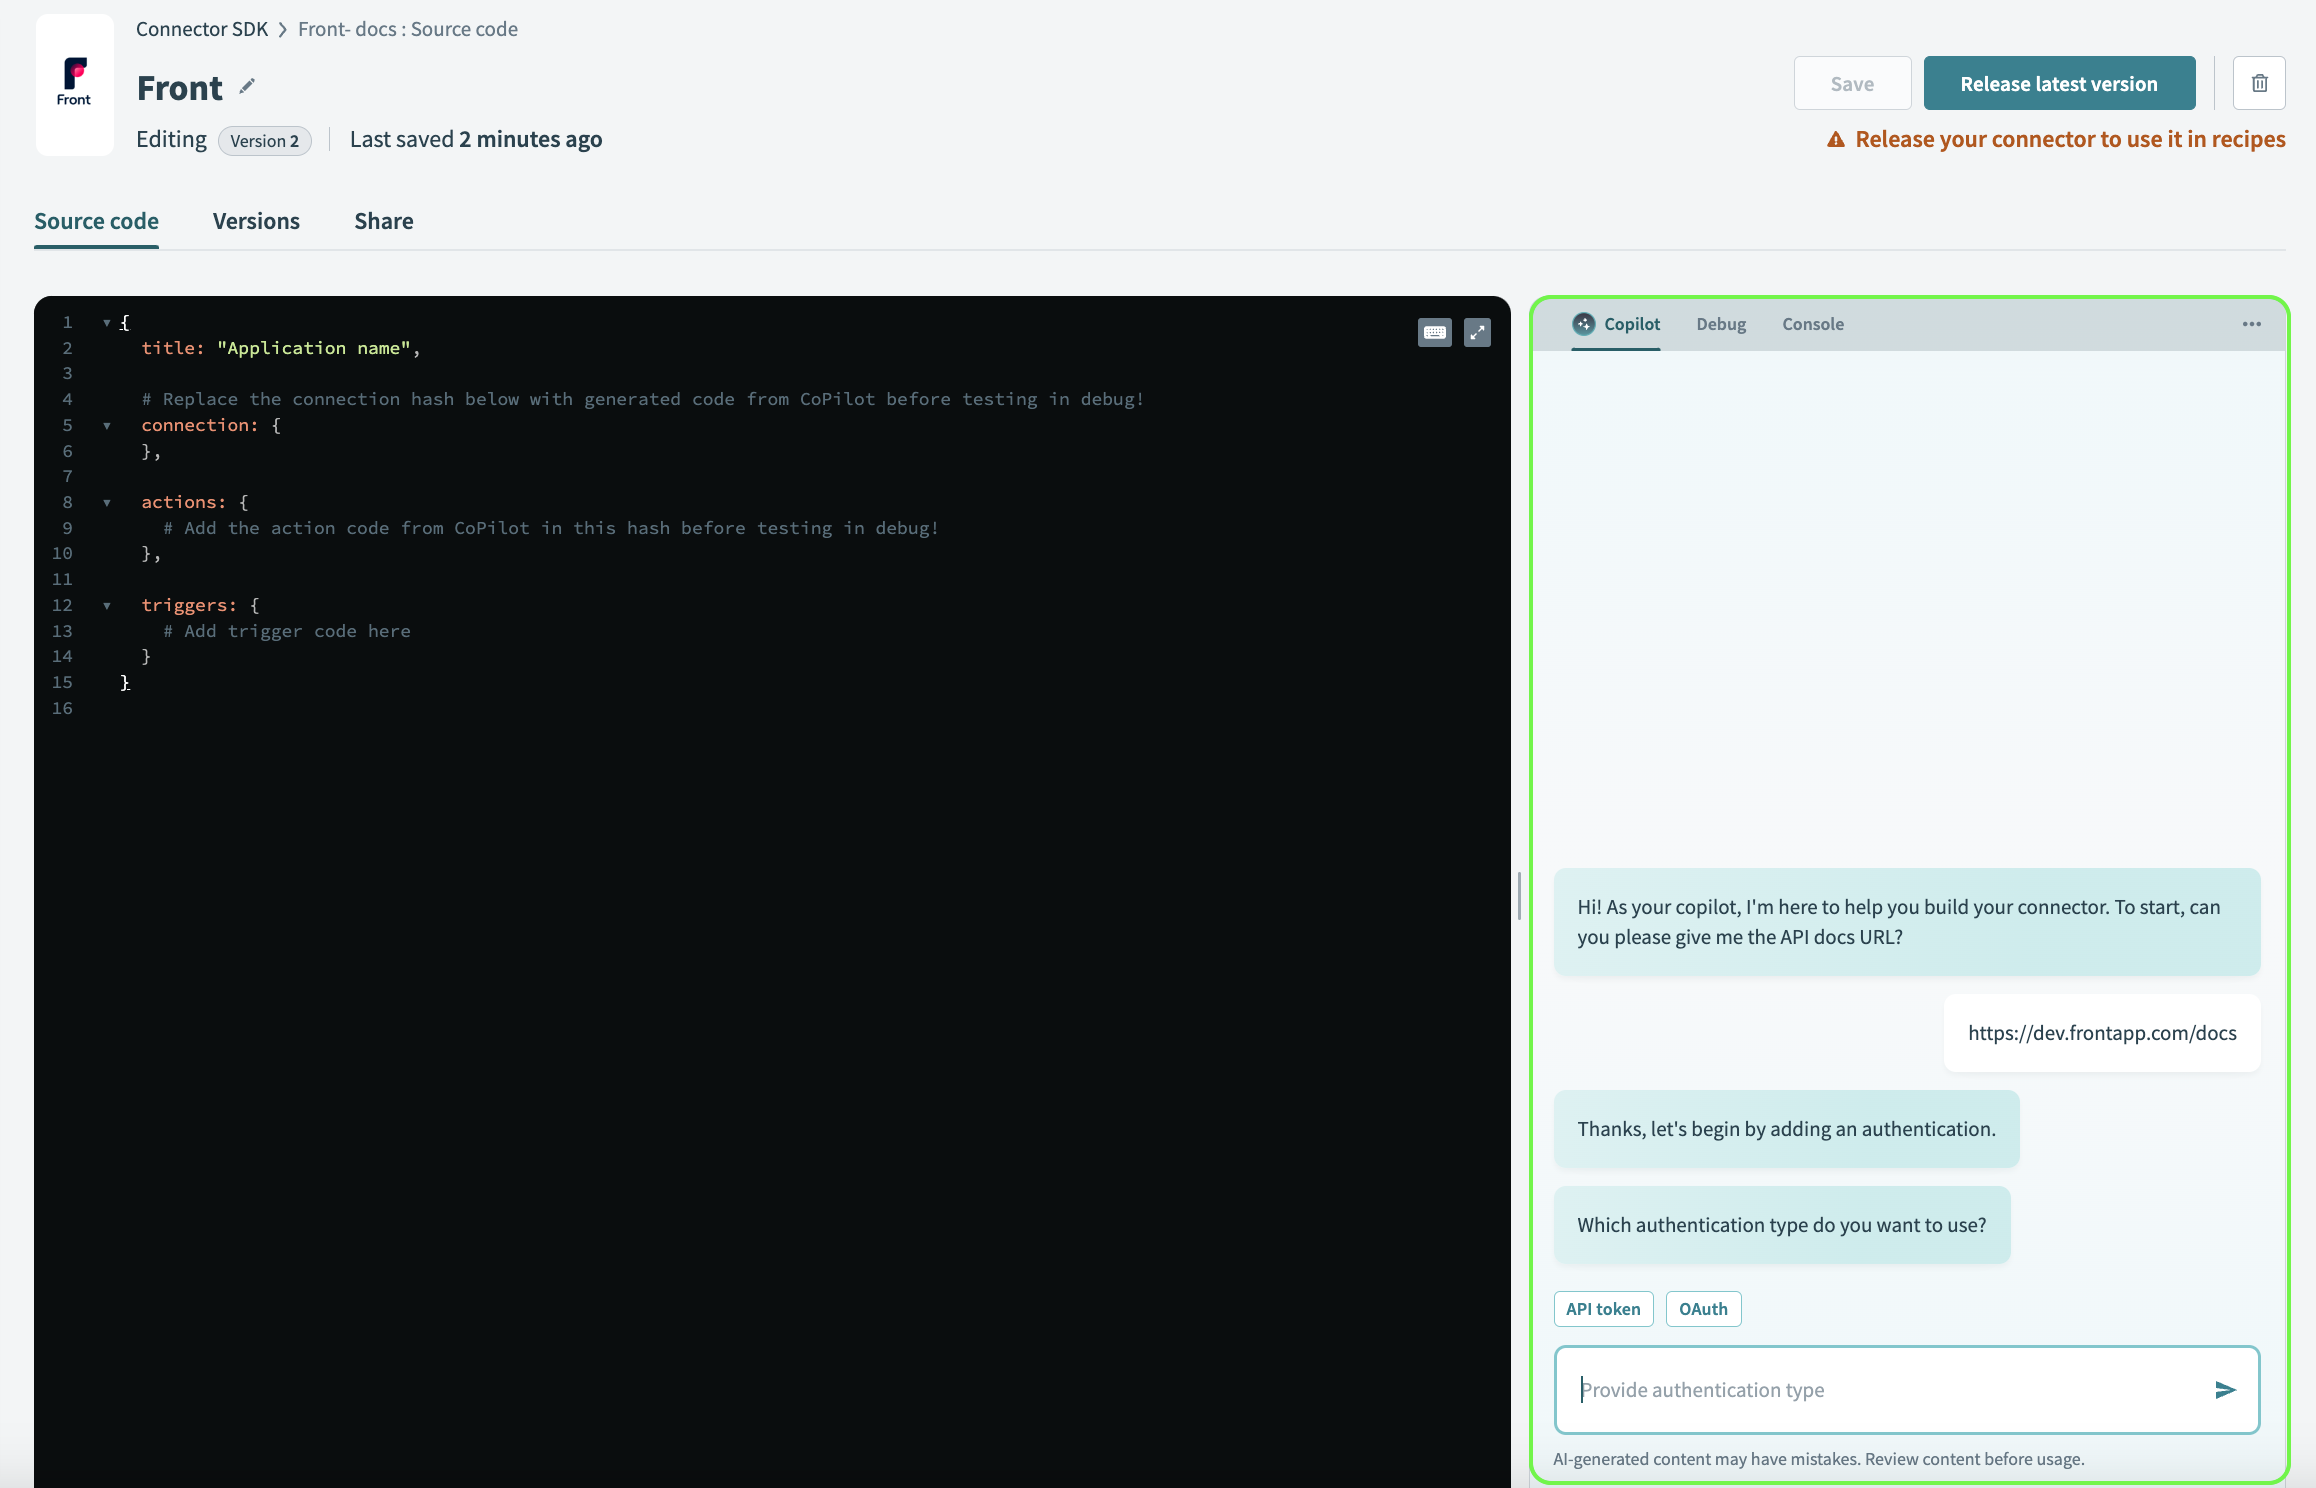 Copilot chat
# Provide your API documentation URL
Copilot begins by prompting you for a link to the API documentation for the application for which you are creating the connector.
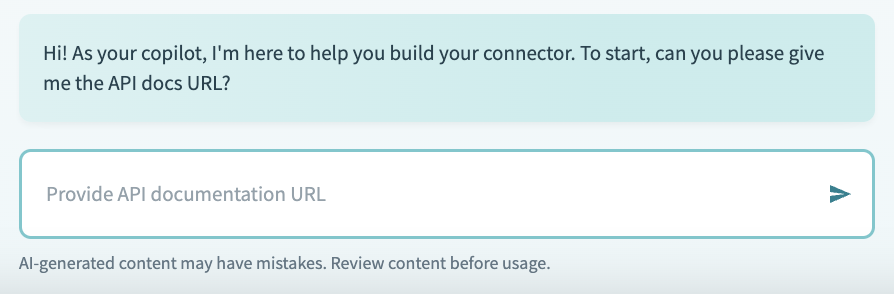 Provide your API documentation URL
Provide the documentation URL for the API reference. This helps Copilot understand if it has seen this set of API documentation before. A single API documentation URL is sufficient, but this API documentation must be publicly available.
After you provide the URL, Copilot checks if it has seen this API before.
- Standard flow - If Copilot recognizes this API documentation, it can help you build this connector with its prior knowledge of the API.
- Private documentation flow - If Copilot does not recognize this API documentation, it can help you build the connector but you must provide additional information about the API.
SUPPORTED APIS
Workato is continually expanding the number of APIs that Copilot supports. Talk to our support team to request additional APIs.
# Create authentication logic
Ensure that you have provided the API documentation URL before using the following steps.
Here is an overview of how this works:
Create a connection with your target application. There are two flows for this process:
Standard flow - Copilot provides authentication options based on the API documentation. In some cases, if no authentication options are found, Copilot suggests an authentication option. Note that you can provide Copilot with an authentication method if you plan to use an alternate authentication method that isn't listed.
Private documentation flow - Copilot provides a set of standard authentication options. Note that you can provide Copilot with an authentication method if you plan to use an alternate authentication method that isn't listed. Copilot prompts you to provide relevant API documentation to help it generate your authentication. You can provide a URL or copy and paste the documentation directly. When providing a URL, keep in mind that we have a limit of 10K characters. If the URL exceeds the character limit, you must provide the documentation using copy and paste.
GET BETTER RESULTS WITH COPY AND PASTE
When using copy and paste, you can be more specific about the documentation that is most relevant for Copilot to generate your authentication. For example, for OAuth2 connections, copy and pasting a guide from the API for the entire flow provides better results.
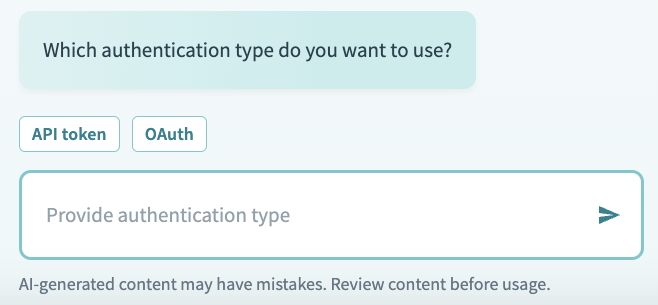 Choose from the available authentication options
Remember to replace the existing connection: { }.
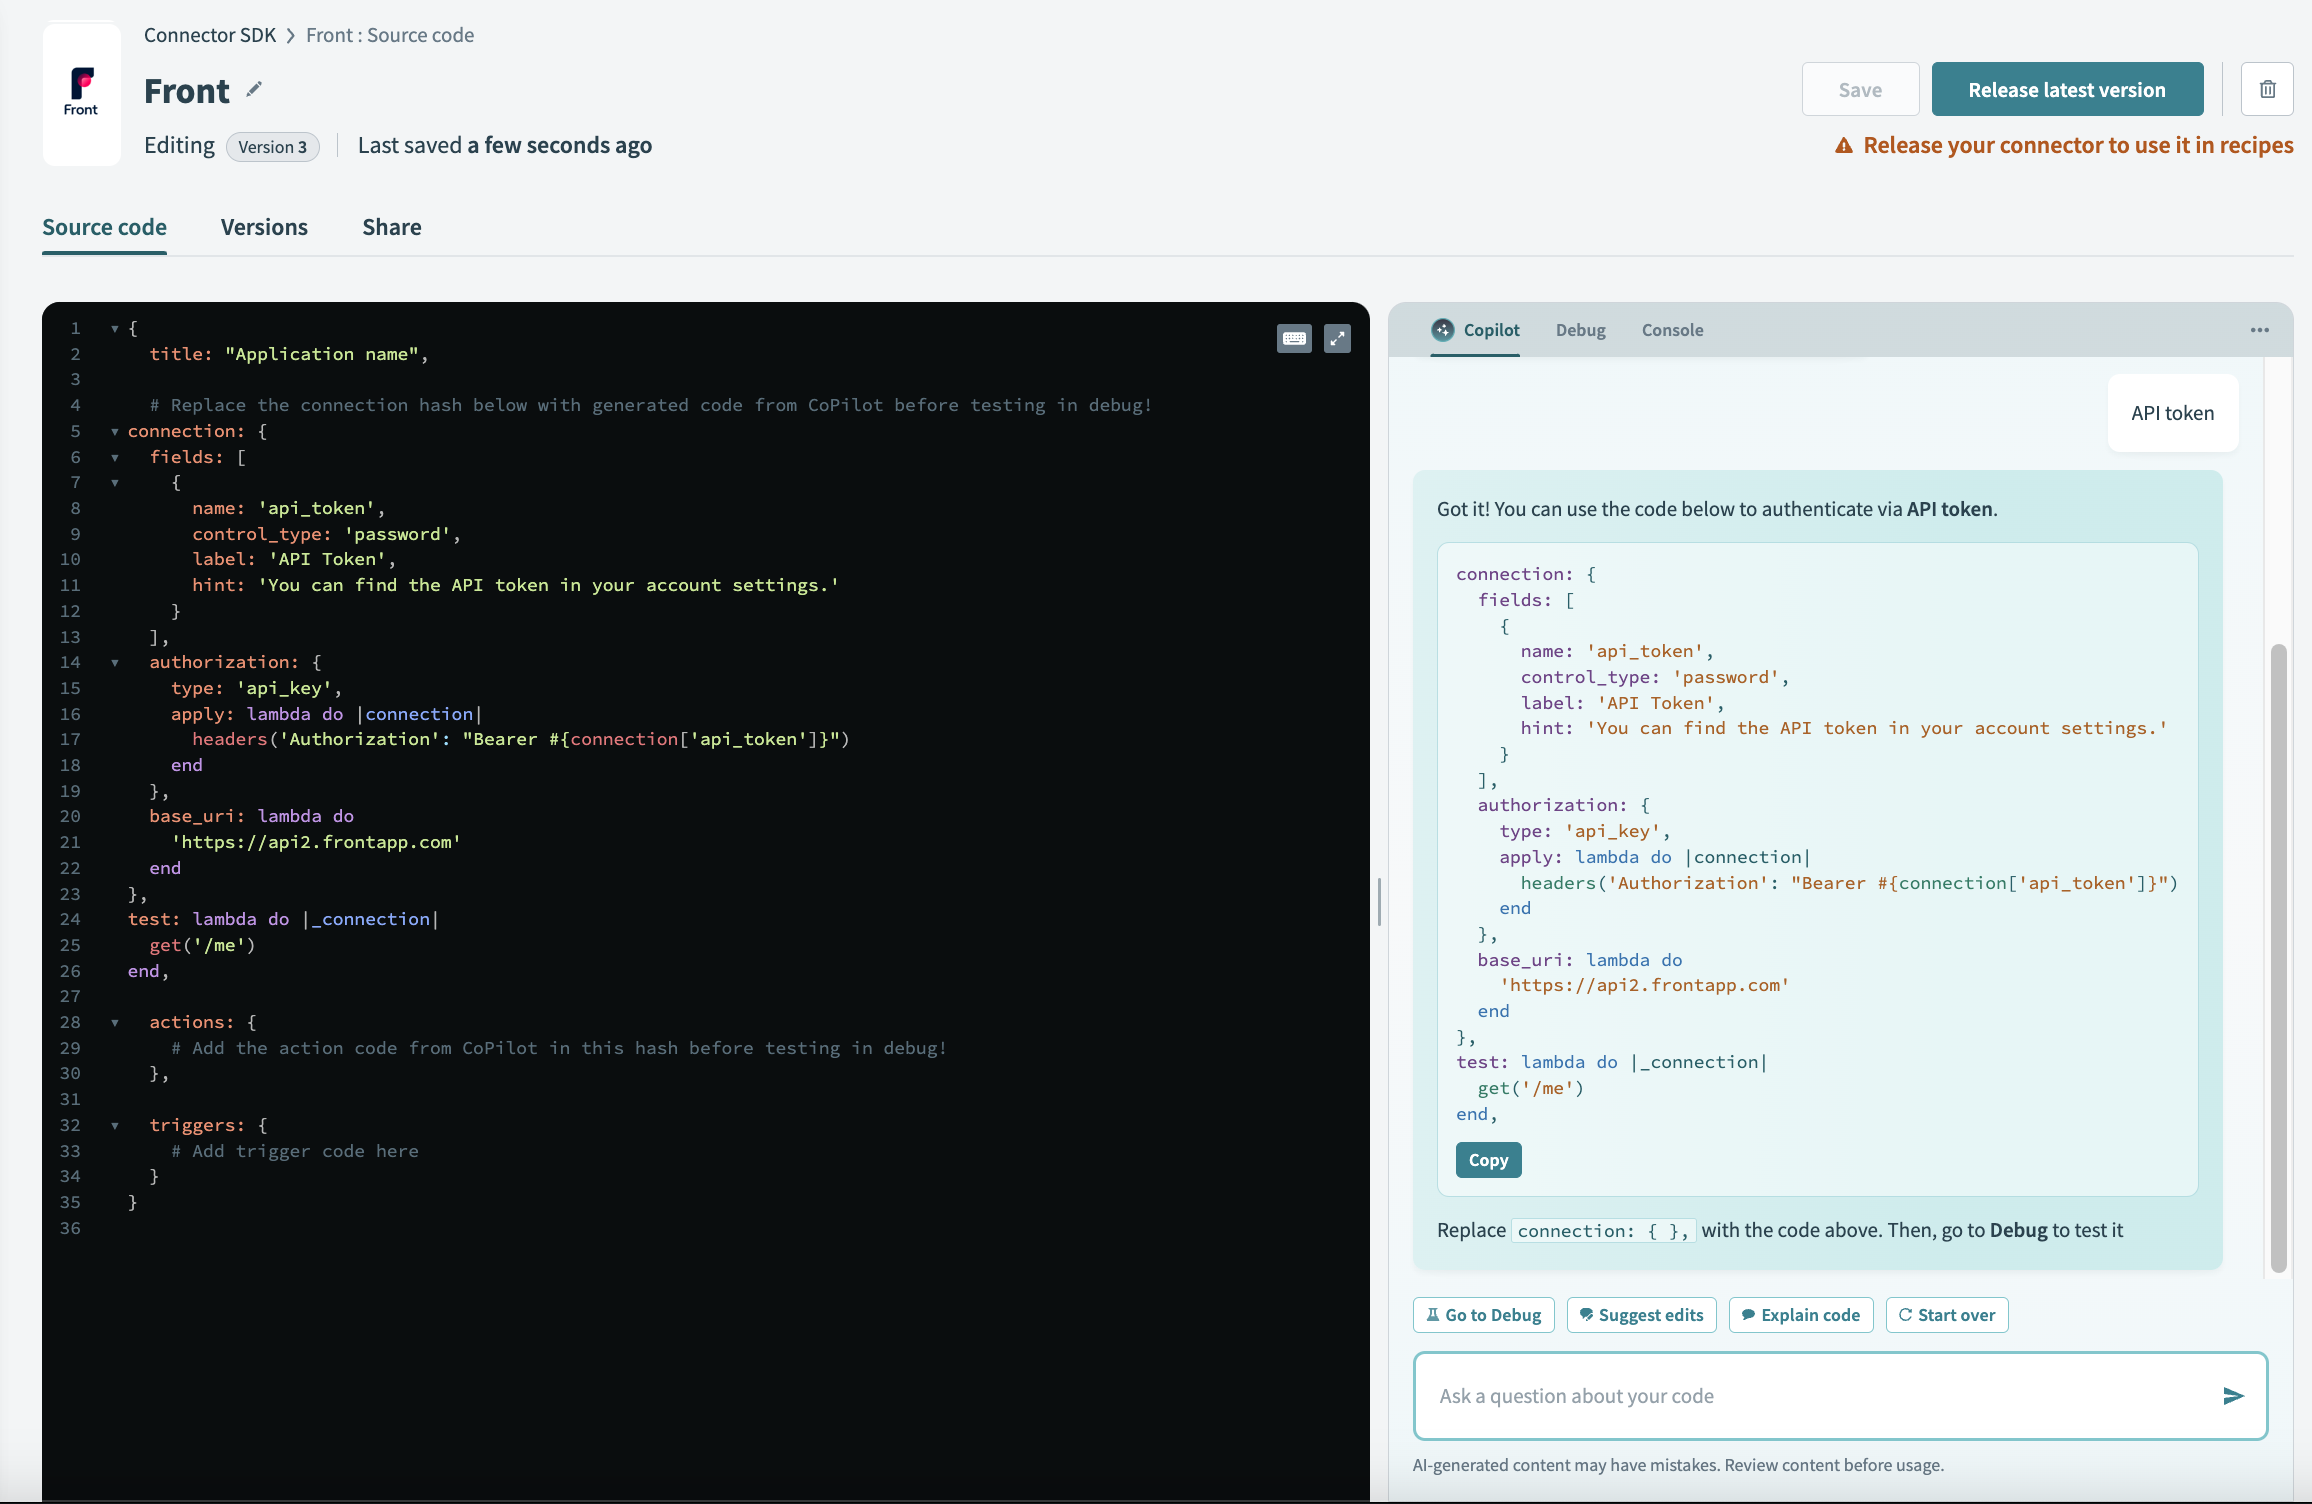 Replace sample code
After you have replaced the connection, you can switch to the Test code tab to test out the generated connection. You must supply the relevant credentials to authenticate your connection.
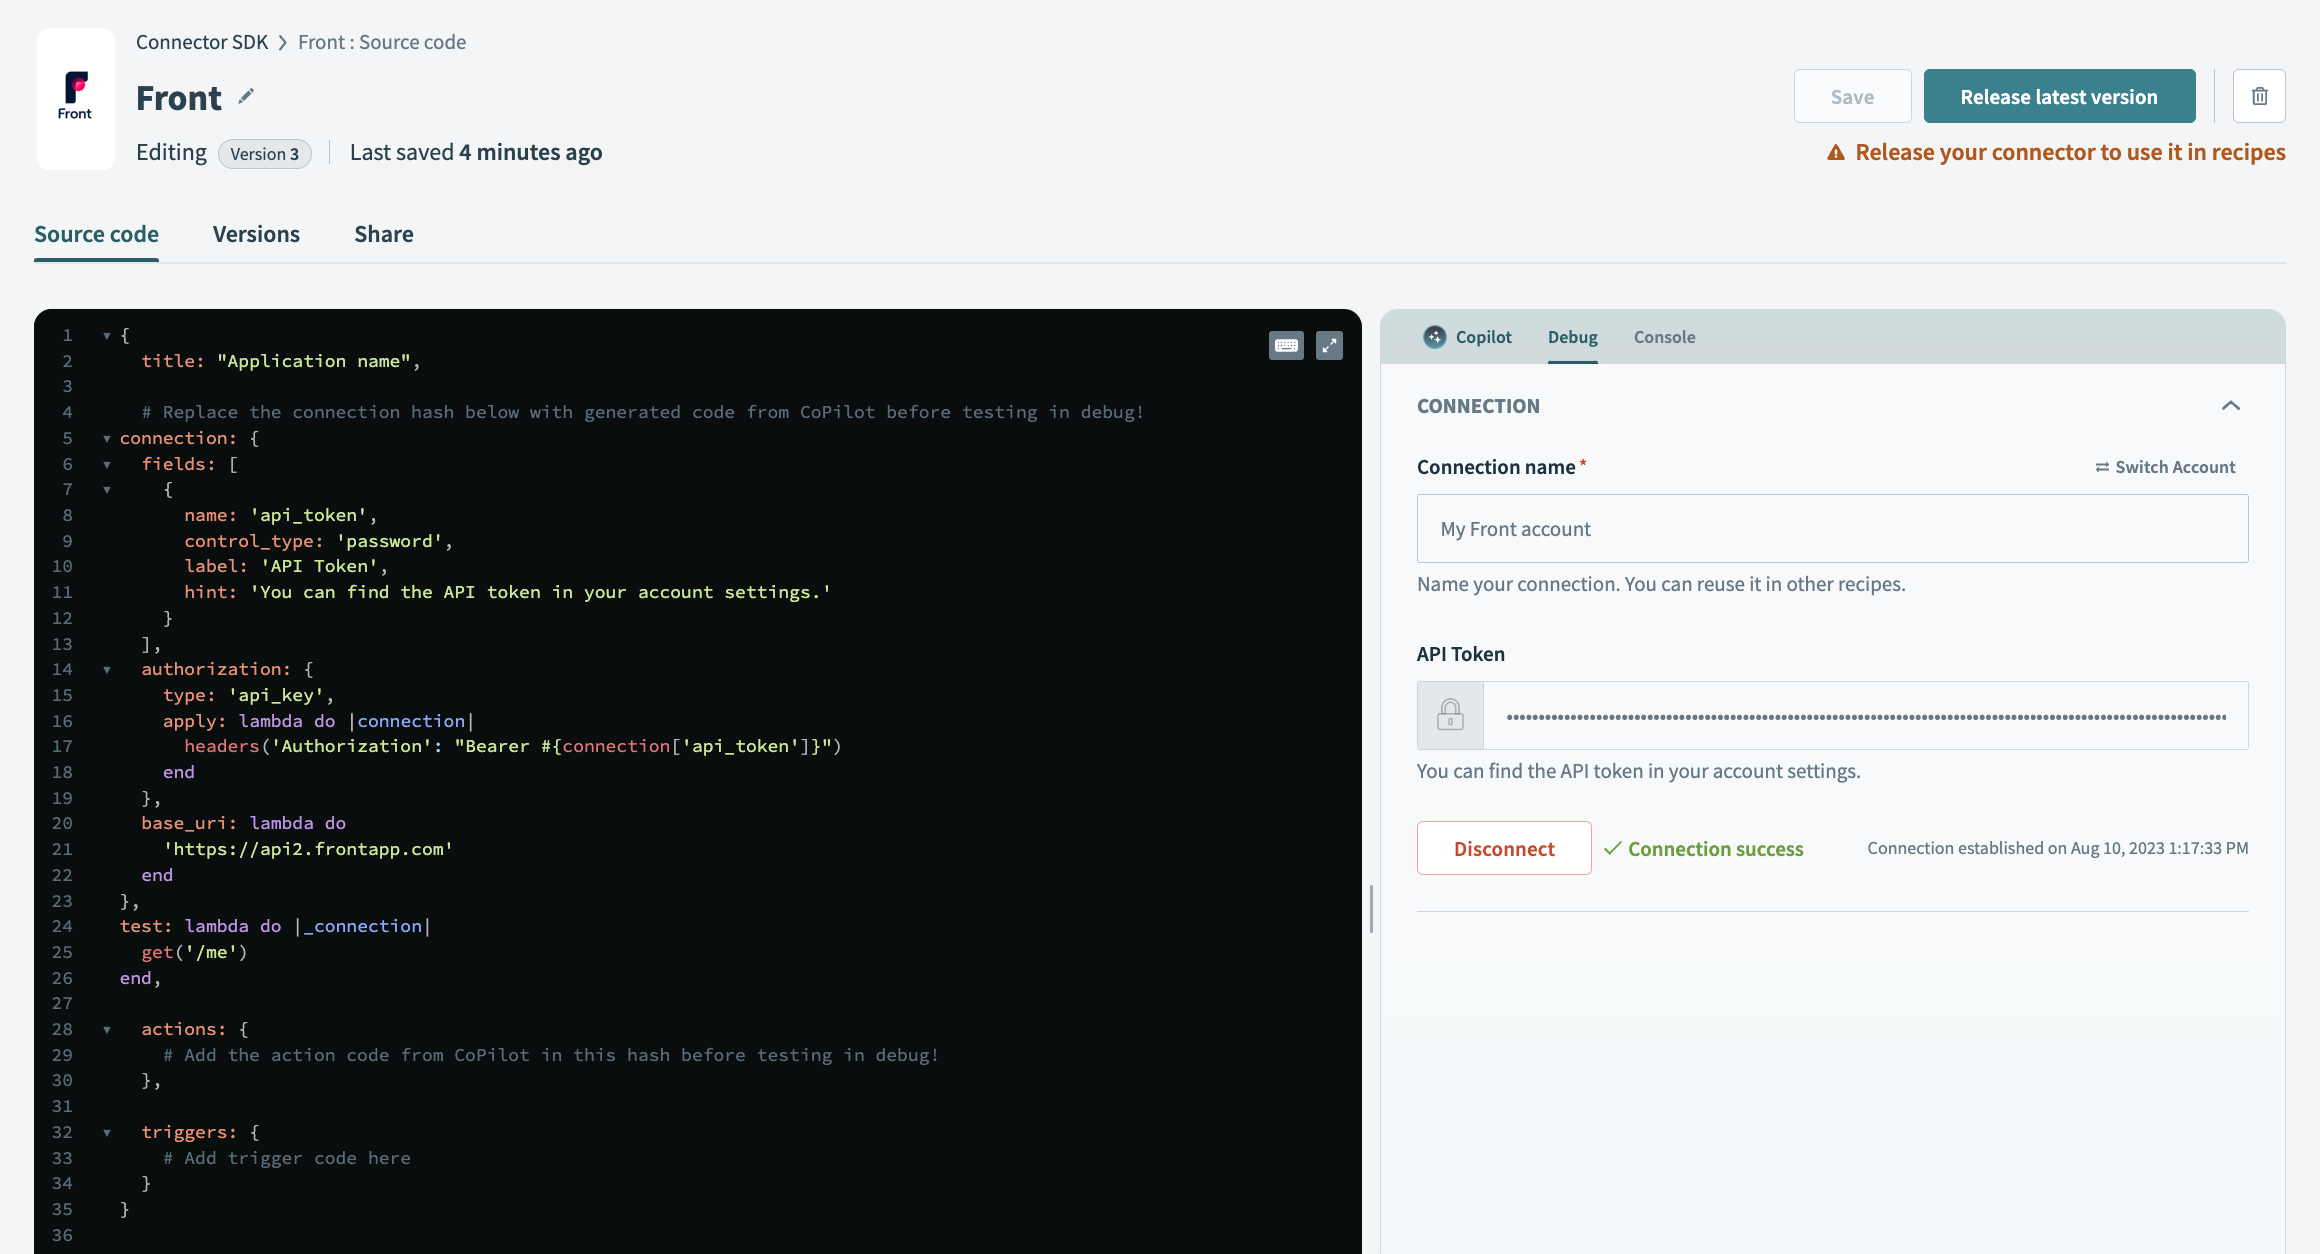 Authenticate your connections
This is also a good opportunity to review the input fields and hints to ensure your connector provides proper guidance to your users.
After testing, Workato directs you to the Recent tests tab to review the authentication logic. You can also review the input and output of the authentication and any API calls that were made in the process.
# Generate an action
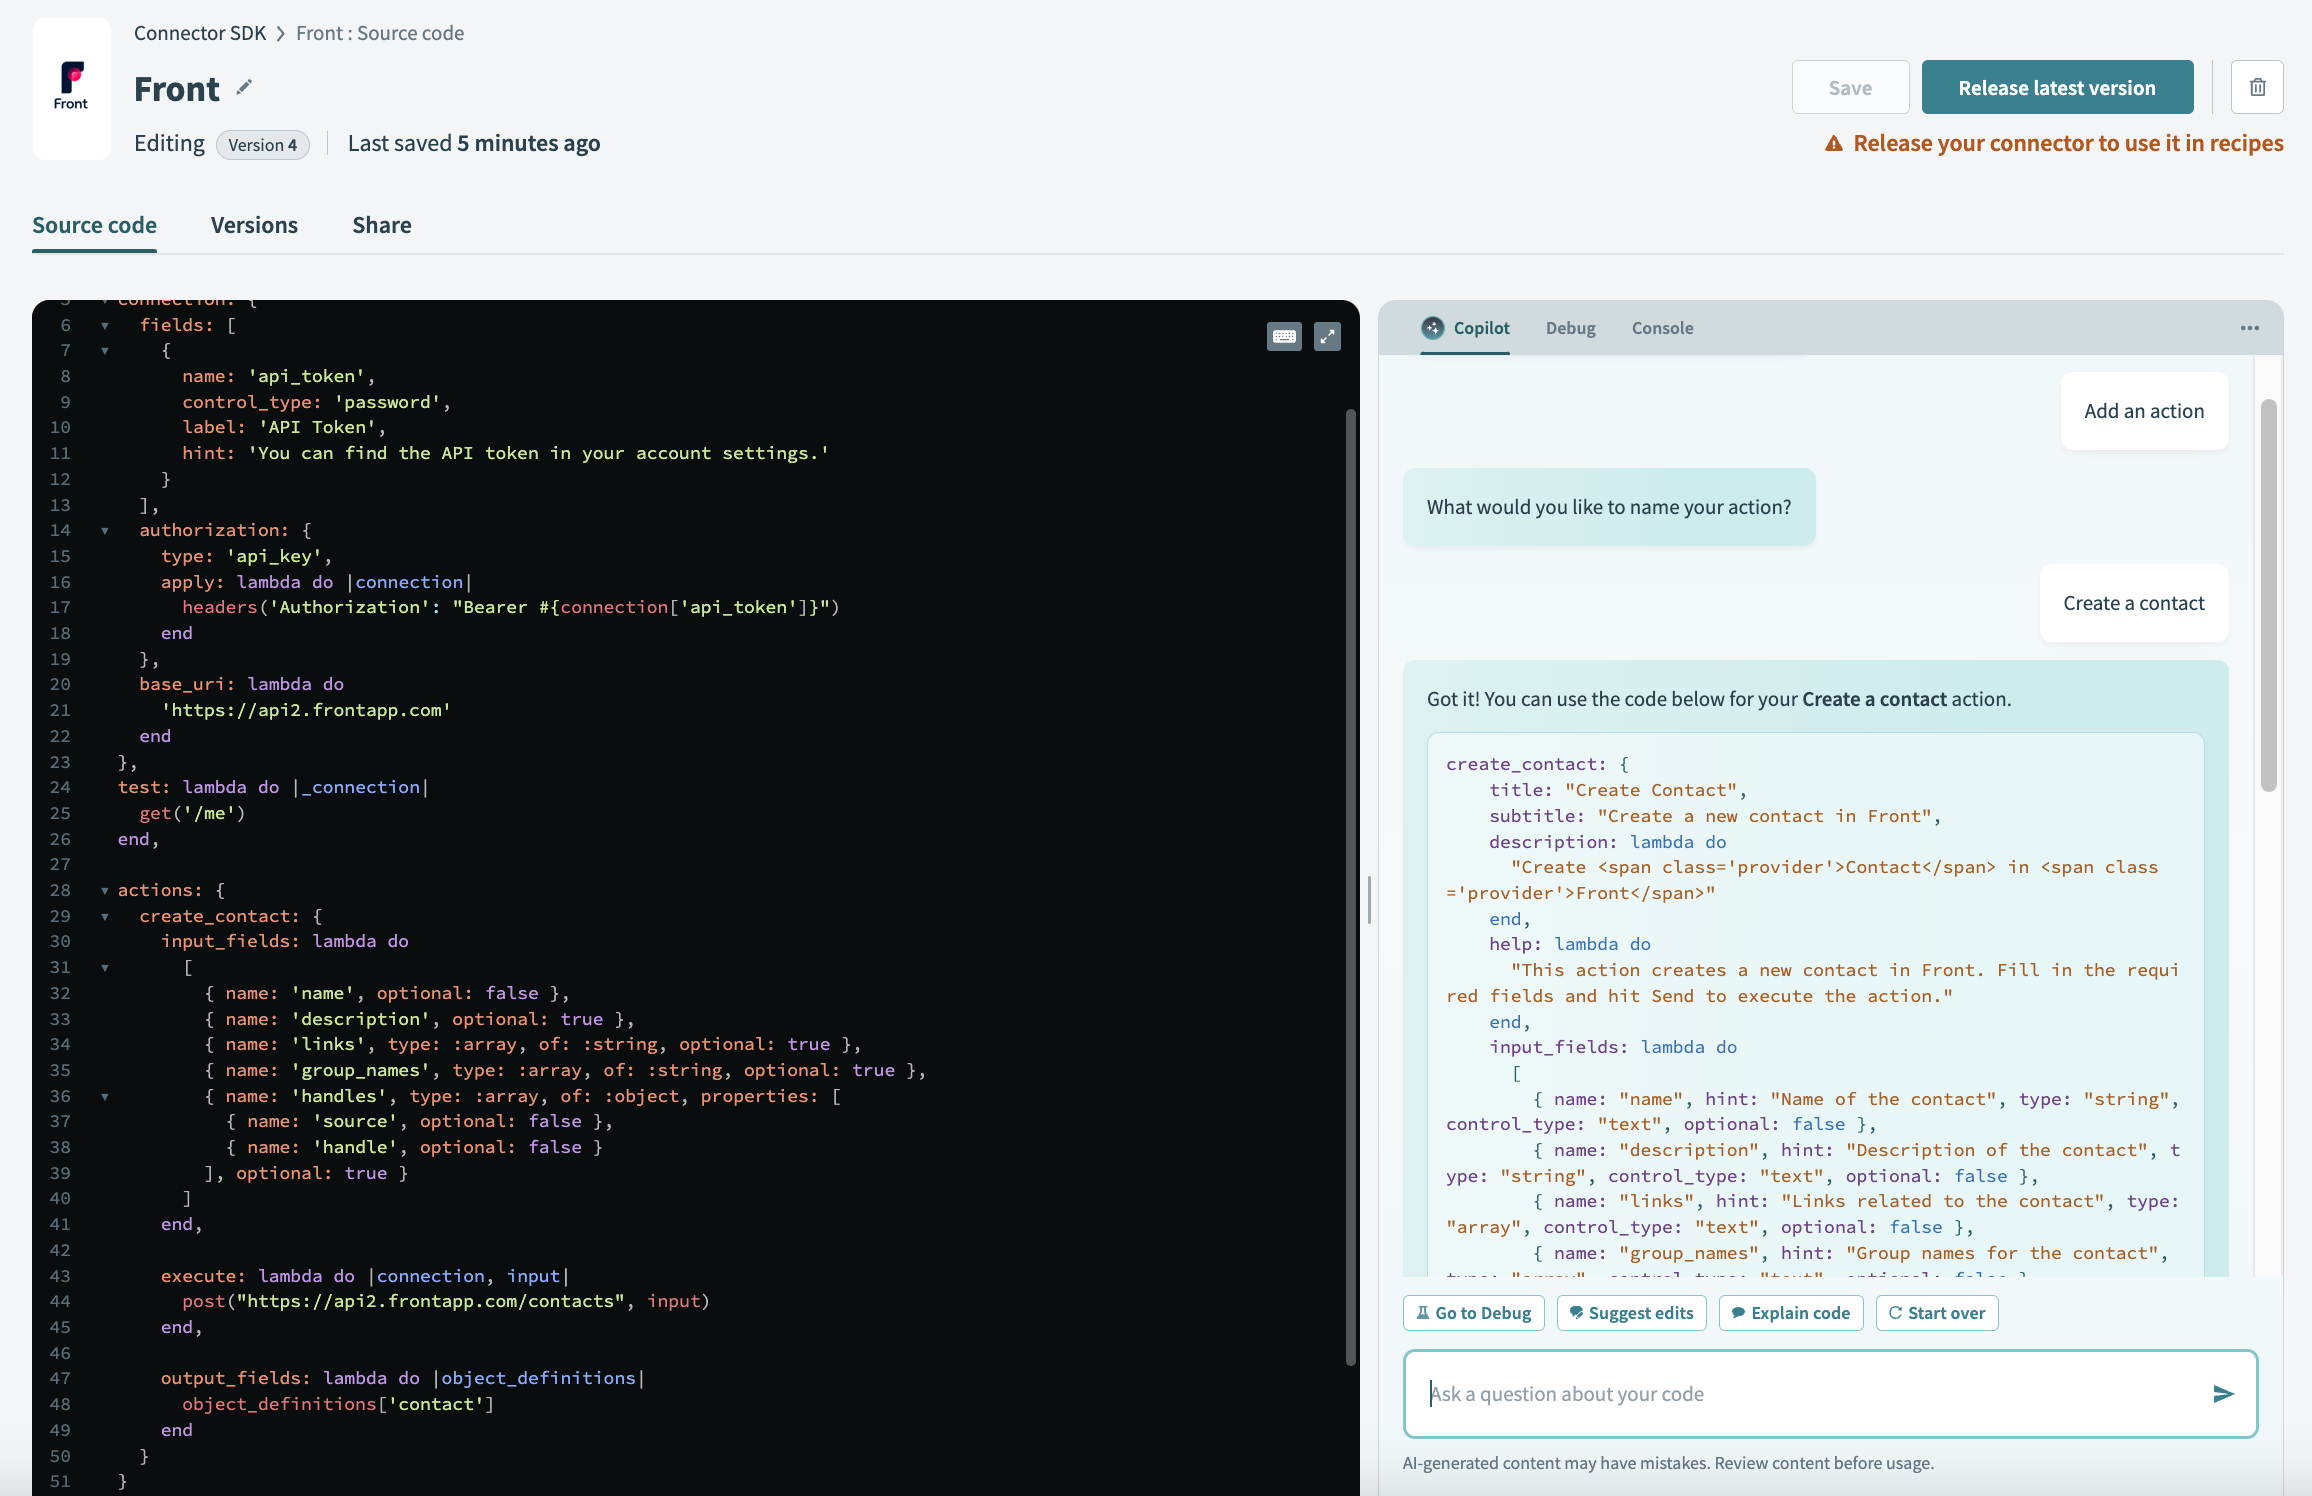
Prompt Copilot to generate an action by selecting Add an action.
Copilot asks you to name the action. The action's name must indicate to Copilot what the objective of your action is, for example , Create Invoice.
- Private documentation flow - Note that you can provide Copilot with an authentication method if you plan to use an alternate authentication method that isn't listed. Copilot prompts you to provide relevant API documentation to help it generate your authentication. You can provide a URL or copy and paste the documentation directly. When providing a URL, keep in mind that we have a limit of 10K characters. If the URL exceeds the character limit, you must provide the documentation using copy and paste.
GET BETTER RESULTS WITH COPY AND PASTE
When using copy and paste, you can be more specific about the documentation that is most relevant for Copilot to generate your authentication. For example, for your Create Invoice action, copy and pasting the documentation that includes the verb, endpoint, input and output parameters provides better results.
 Add an action
Review the code Copilot generates for the action. If it's acceptable, copy and paste it into the code editor.
Add an action
Review the code Copilot generates for the action. If it's acceptable, copy and paste it into the code editor.
Review the code. If it's acceptable, copy and paste it into the code editor.
After you have added the action code, you can switch to the Test code tab to test out the generated action. You must have a working and successful connection to test
After testing, Workato directs you to the Recent tests tab to review the action logic. You can also review the input and output of the action and any API calls that were made in the process.
# Fix errors and explain the SDK
After Copilot generates your connection or action code, it provides additional options. This allows you to request edits, fix API errors, or submit other queries.
Remember, being more specific about your requirements helps Copilot deliver better results.
 Additional options
These options include the following buttons:
Go to Debug
This button routes you to the debugger interface, where you can troubleshoot errors in your code.
Suggest edits
You can direct Copilot to make changes to your code.
Explain code
Prompt Copilot to explain your code to you. Copilot can explain how specific parts of your code function, help you troubleshoot errors detected in the Debug interface, and more.
Add an action
Allows you to direct Copilot to add another action when you're ready. Use this to get the best results for action generation.
# Clearing the conversation
You can use the overflow panels in the top right corner of Copilot to clear your conversation.
Resetting Copilot is an important step in your connector development, as restarting provides better and more accurate answers. This action does not clear code you copied into your connector. Only chat history with Copilot is cleared.
# Reset the API documentation URL
At any point during your conversation, you can use the overflow panels in the top right corner of the Copilot chat to reset your API documentation URL.
Resetting the URL link brings you back to the state where the copilot prompts you to supply an API documentation URL for analysis. Like restarting the conversation, this action does not clear any code you copied into your connector.
# Limitations
Copilot cannot generate triggers.
Refer to building triggers documentation for guidance on creating a trigger for your connector.
Last updated: 11/21/2023, 6:19:41 PM